


I was at first very hesitant to go for this cleanse program. Very nervous too. Once it started and I gave ot a go I felt like my body needed it so much and I am getting more clarity of the benefits. I also found the inner strength I have. This was the nest decision I made for myself in a long time.
Good morning Vidya,
We love that you challeneged yourself with something new and found your inner strength, we are stronger than we think, a very well done! It is lovely to know you have more clarity and are feeling the benefits. Thank you for choosing to cleanse with us, we look forward to supporting your journey in the future
I love the choice that the Sol Cleanse Custom Cleanse allows me. I have done a few cleanses with Sol, so I know what I love best and choose these to help make my detox a smooth and enjoyable process. I chose the Celery, Peace +, Love, Insight, Gaia and Energise. I never felt hungry, the food was fresh and delicious and it was exactly my body needed to recover from a busy few weeks that left me feeling burnt out and a bit overwhelmed. I feel like myself again after this cleanse, thanks Sol Cleanse 🫶🏻
Hey Jasmin!
Thank you so much for taking the time to leave such a glowing review. We are thrilled to hear that you loved our Custom Cleanse and that it was exactly what your body needed. We are all about making the detox process smooth and enjoyable, so we are happy to hear that you never felt hungry and enjoyed the fresh and delicious products. We are glad to have helped you feel like yourself again! Thank you for choosing Sol Cleanse for your cleanse journey
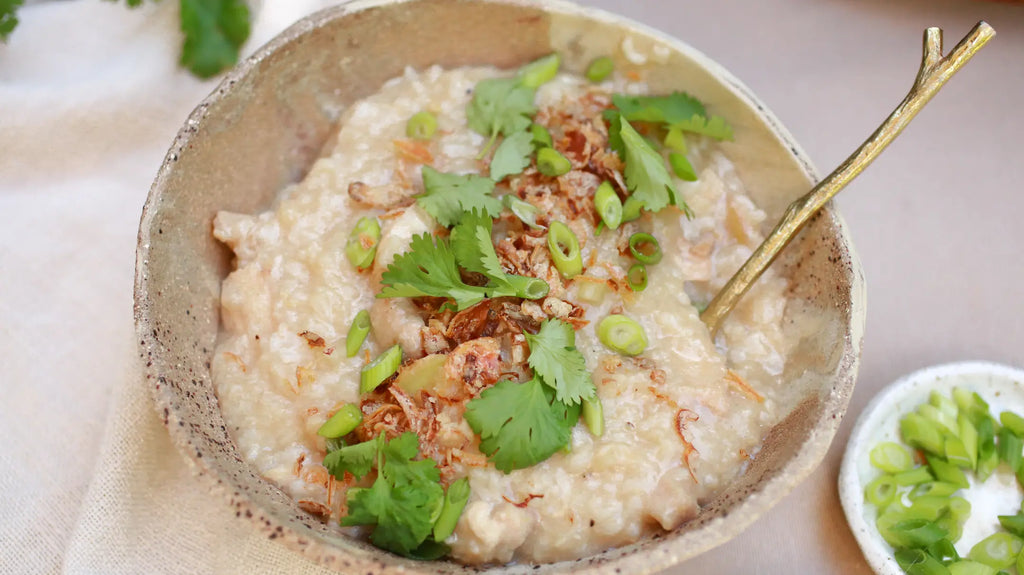
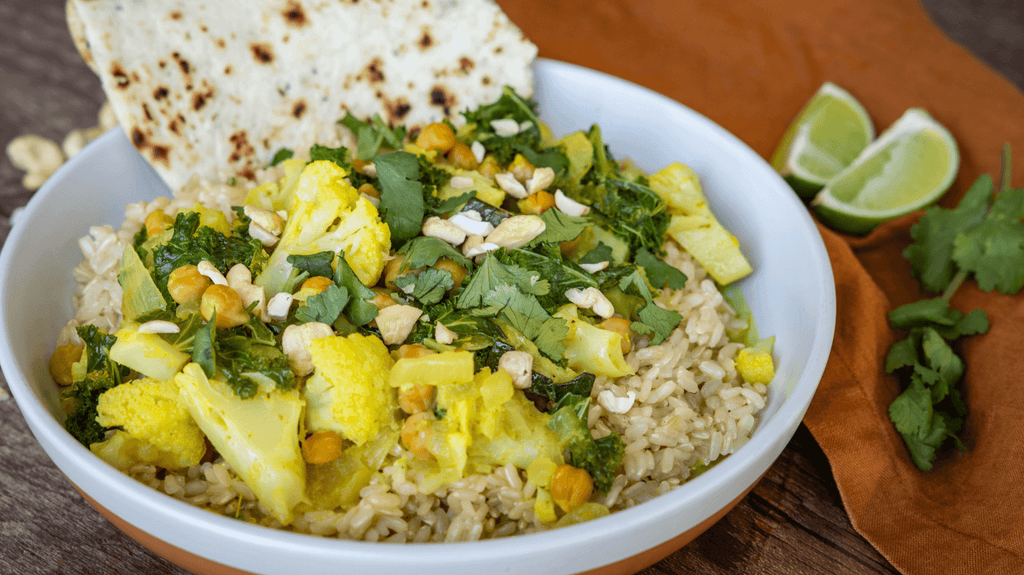
This was my first cleanse and I was really impressed with the quality and taste of the items. The Dahl is amazing, my kids wanted to keep stealing it.
Hey Kristin,
Well done for completing your first cleanse! We are delighted to hear you enjoyed the taste and the quality of the products, so much so your kids wanted some too!
Thank you for sharing your experience and for joing our Sol family
First time ordering from Sol Cleanse. The wholefoods pack for three days was fantastic. Everything tasted so good, so healthy and uplifting. I have since ordered a level one cleanse and another wholefoods pack. If you want fresh, organic, living, whole food meals Sol Cleanse are the shiznicht. Highly recommended.
Hey Lauren,
Your lovely review is greatly appreciated by the team. Thank you for taking the time to leave this with us and share your experience. We are beyond delighted to be able to support you with juices and meals to supporta healthy & happy lifestyle. Thank you for being a part of our Sol community!
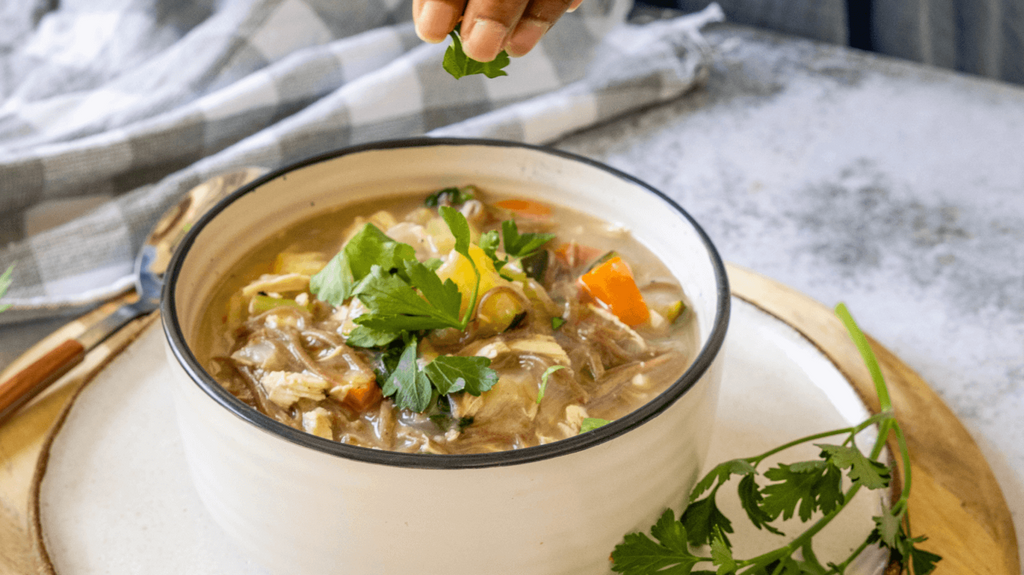
This was my first cleanse and I’m so glad I used Sol Cleanse. The convenience of having organic ready made juices, especially when you’re feeling a little sluggish from detoxing your coffee & sugar habit, is priceless to me. I was expecting I may not enjoy all of the juices BUT every single one was delicious and satisfying. Whenever I felt hungry, I’d make a calming cup of tea (included in the pack) and felt nourished. I looked forward to my warm soup in the middle of the day-and the daily emails to cheer you on and offer extra activity to support your cleanse elevate the experience. I’m looking forward to my next cleanse-and that’s the truth!
Good morning Ebony,
We are so pleased we could positively support you throughout your first cleanse How exciting!
It sounds like you created the perfect personalised daily system which is so incredible to hear. It means so much to us that you have left us this feedback & we are so pleased to learn you enjoyed all of the products although feeling hesitant. Well done for committing to your healthy self & thank you for being a part of our Sol Community!